Ok, so this post is about some iffy soap I made with friends in Spain. Why was the soap iffy I hear you ask? Well. The whole idea was to make something cheap (therefore using local produce) and pure if possible. The purpose of the soap was to be twofold - a cleaning product for the kitchen as well as something that you could wash your hands with. This is a tall order as the two are usually completely separate items.
The lovely people who asked me to teach them to make soap were so enthusiastic about the whole project that we simply 'had a go' with the best ingredients that we could find in the village shop. Sometimes you just have to do it and see what you get.
The only caustic soda that we could find was this stuff.....
It said on the packet that it was 90% caustic soda and 10% 'other ingredients'. It did not specify which or what other ingredients were included. I speculated that this could have been bleach or something equally horrid that you would not want to put on your skin. Would it even turn into soap I wondered?
The olive oil, the cheapest we could find at the village shop, turned out to be a rather good quality olive oil that I just knew would take some stirring to turn into soap. But what the heck... lets see what happens.
Firstly I have to point out the deliberate mistake here and say BAD GIRL JANE. BAD BAD GIRL!!! Can you see?
I am not wearing safety goggles. This is a huge NO NO NO! and I debated whether to do this post at all because of it. I hold my hands up, it was entirely my fault, my suitcase weighed in at 19.6kg when I was only allowed 20kg on the plane and I had turfed out of the case all my soap making equipment in favour of toys and clothes for my grand daughter. So I turned the soap making experience into a very dangerous one by proceeding without the goggles.
The first problem we encountered was that the caustic soda did not entirely dissolve. The nameless 10% was left solid at the bottom of the jug. I carefully poured only the dissolved solution into the oils. This means that I actually was unsure how much caustic soda I was using - likely alot less than the recipe called for (recipe given at the bottom of the post). since I was pretty confident that it would be less caustic rather than more I thought it was worth continuing.
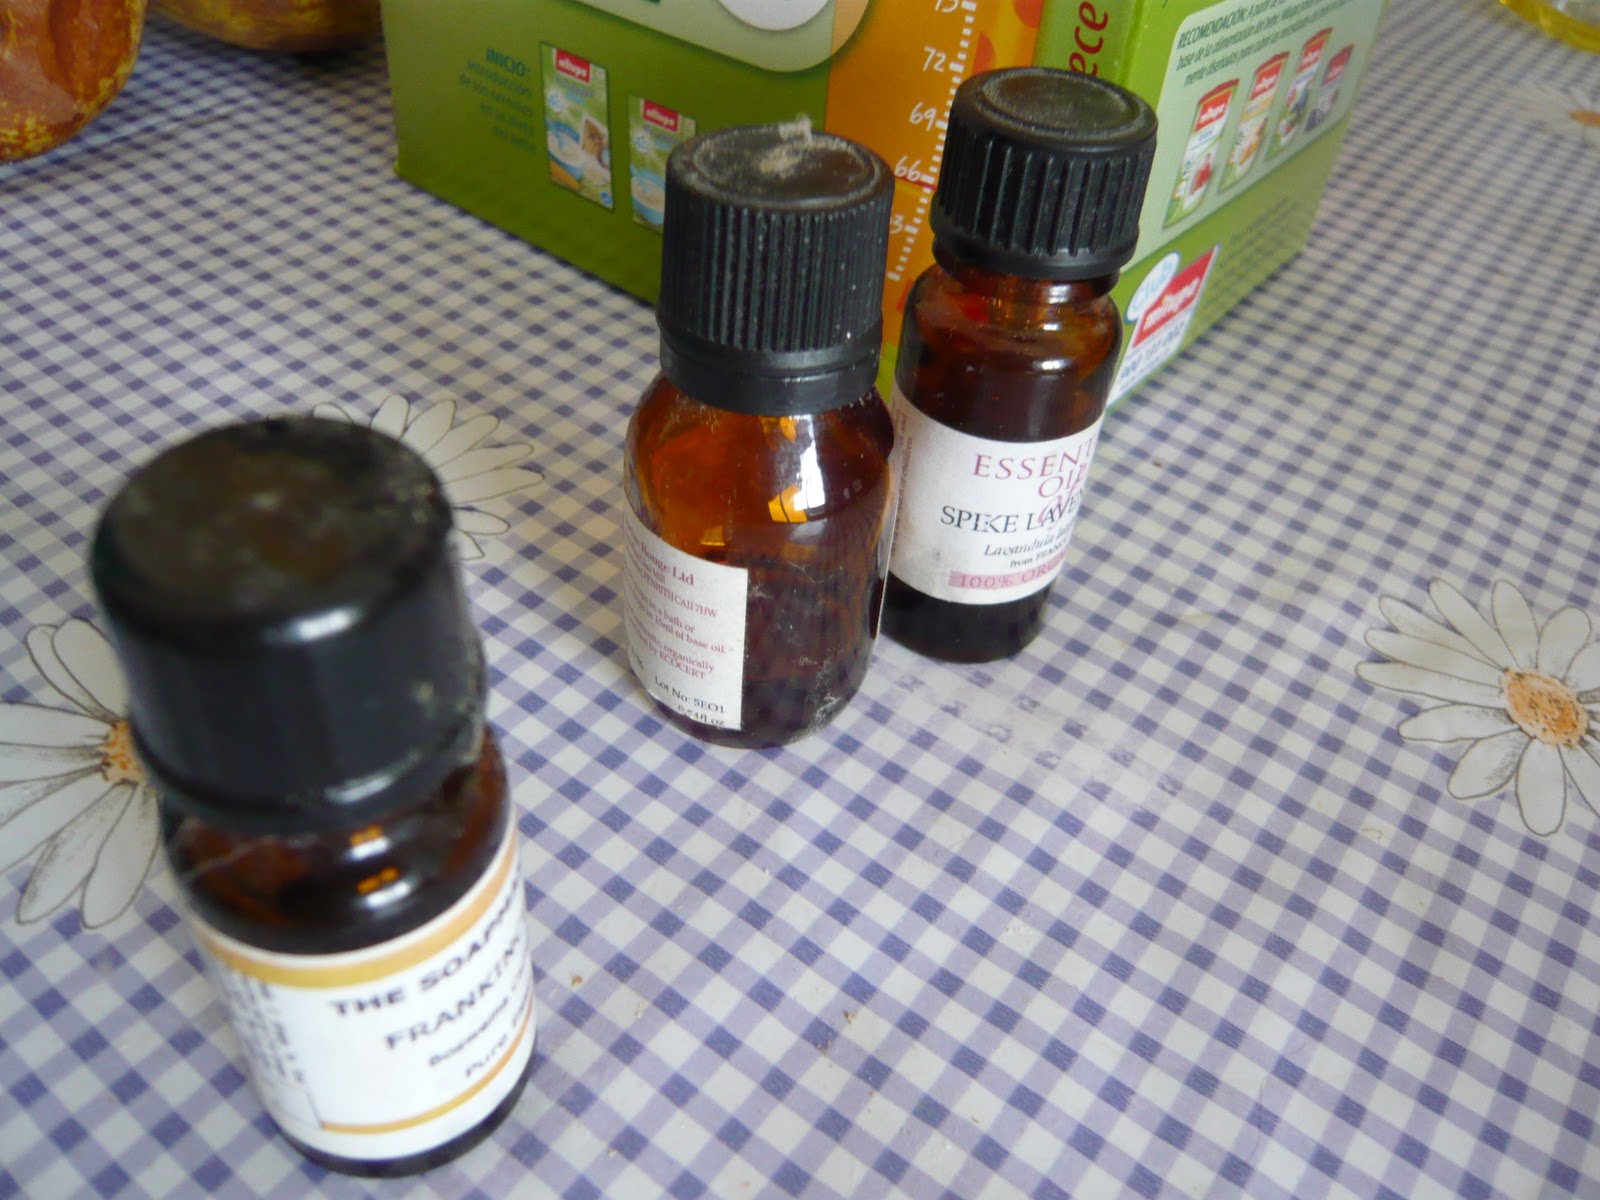
As predicted it took a lot of stirring. Then we left it still liquid and had a cup of tea, checking back every ten minutes or so to give it a quick stir. After doing this a couple of times it finally started to come together, when it was the consistency of a nice creamy custard (looked just like creamy custard too!) we stirred in some out of date essential oils that my daughter had knocking about the house. They still smelled lovely even though they were quite old - lavender and sweet orange in equal quantities.
We poured the mixture into an empty cardboard box that we lined with greaseproof paper and then we set off for the village bar. After a couple of hours and a couple of beers we came home and checked on it. It was still quite runny but it was very carefully transported to Angela and Michele's house. It was then that I realised that I had forgotten to take a photograph of the finished product. D'oh! (must have been the beer!)
According to Angela it set beautifully by the following morning and they cut it and left it to cure. They are now in the UK for a holiday so perhaps when they get back they can take a photograph of the soap and let me have it so I can update you all.
This type of all-olive oil soap is traditionally called a Castile soap after the Castile region in Spain where it was first made. The final test of how good this soap is - whether it will be suitable for using on the skin or left under the sink for washing the floor will be down to Angela and Michele. They understand that we don't really know what was in the caustic soda, or if we managed to screen out the 'bad' bits or not. At the end of the day, if it is used solely as a kitchen cleaner, it is still going to be the cheapest kitchen cleaner you could ever buy... costing only a couple of euro's to make.
The recipe we used:
1 litre Olive Oil (cheapest we could get)
275g water (weighed)
127g caustic soda
10ml Essential oil
Labels
- Balms (6)
- Bath (11)
- Chit Chat (6)
- Cleansing (5)
- courses (1)
- Deep Cleansing (3)
- Equipment (1)
- Essential Oils (5)
- Feet (1)
- Haircare (8)
- Herbs (4)
- Historical (1)
- Milk (1)
- Mud Masks (2)
- Oils (8)
- Problem Skin (3)
- Recipes (32)
- Safety (2)
- Soap Making (20)
- Sodium Hydroxide (2)
- Theory (39)
- water (3)
Comments
I LOVE comments, so please, if you have an opinion or would like to ask a question, do so. But do check back as I shall answer any questions in the comments of the relevant post - that way, everyone can benefit from everybody's knowledge and advice.
Sunday, 27 March 2011
Wednesday, 2 March 2011
Short Break
There will be a short interval (while I go to Spain to visit my daughter and grand daughter) with no posts, but then....
When in Spain I shall be teaching a friend of my daughter's how to make soap - he is keen to only use local produce, which means an all olive oil soap - maybe with rosemary or thyme infusions - I plan to take lots of photographs and I will blog the results. Give me two - three weeks and then do check back!
Oooh yes I plan to make an antiseptic balm with extra virgin olive oil and wild mountain thyme too! Sounds so yummy you'd think I was talking about cookery not cosmetics. See you all soon.
When in Spain I shall be teaching a friend of my daughter's how to make soap - he is keen to only use local produce, which means an all olive oil soap - maybe with rosemary or thyme infusions - I plan to take lots of photographs and I will blog the results. Give me two - three weeks and then do check back!
Oooh yes I plan to make an antiseptic balm with extra virgin olive oil and wild mountain thyme too! Sounds so yummy you'd think I was talking about cookery not cosmetics. See you all soon.
Sunday, 13 February 2011
The Perfect Skincare Routine
JUST EXACTLY WHAT IS A SKINCARE ROUTINE
A skincare routine should be cleansing, toning and moisturising - these three you do every day. This does not include makeup removal which you would do prior to the cleanse, tone and moisturise routine.If your skin is very dry, you could simply tone and moisturise in the morning, saving the cleansing for evening only.
Knowing your skin type will help you choose which natural beauty recipes to use in your skincare routine.
On top of this daily routine, you should deep cleanse on a regular basis. Deep cleansing can be done with mud masks or skin peels but don't be alarmed... all of these can be made from very natural and simple ingredients.
How often is a regular deep cleanse? Well, once again it depends upon your skin type. And everyone is different so you will have to experiment to see how it goes... but a good guideline is that you need to deep cleanse your pores about once a fortnight... increase or decrease this as you adjust your routine, based upon how your skin looks and feels. I have a greasy complexion and I need to deep cleanse about once a week... but sometimes twice a week... it depends what I see in the mirror every day!
There is also an extra step that many people forget about...
Feeding your skin.
This is required less frequently when you are young and more often as you get older. Feeding involves using creams, serums or face masks with more nourishing ingredients. Sometimes these are best applied at night as they tend to be richer and oilier than a daily moisturiser.
Even oily skins need to be fed... but if you have an oily skin you may like to choose recipes that include less 'greaasy' feeling ingredients, or ingredients that are absorbed into the skin more quickly. There are a number of plant oils suitable for oily skin. It's up to you to do a little reading and then choose one and try it out. There isn't a quick fix for this... I can't just tell you to use this organic face cream or that cold cream, you really do have to put a little effort in to understanding your own skin.
Yes I know this blog does seem to be veering away from it's title - Soap Teacher - Once all this theory stuff is on the site I promise there will be more posts of soap making recipes. Honest!
Friday, 11 February 2011
Do You Know Your Skin Type?
Why should you know your skintype? It's all very well my telling you how to make a wonderfully natural oil-based skin cleanser but if you already have very greasy skin, or perhaps a tendency to acne, then you are definitely not going to be very happy with it. Knowing your skintype is the key to improving on what nature gave you. Plus it will save you a lot of money and aggravation in the long run!
Choosing which products will be most useful for your particular skin is paramount if you wish to save money, time and energy (and possibly tears too!). Your skin will reflect your general health and the conditions under which you live, more or less updating on a day-to-day basis.

Firstly, if you do not eat and drink well (as in water not alcohol!) your skin is less likely to look its best. 'Burning the candle at both ends' is notorious for making the complexion look grey and dowdy - you only have to remember the 'morning after the night before' to understand where I am coming from.
Pollution, too much sun, too much wind, extreme cold, central heating, computer monitors, fast food, processed food, cigarettes, alcohol, drugs (recreational and prescription), age and illness are all reflected in the health of your skin and will contribute to your natural skintype, making it worse or better.
There is also the predisposition of your genes. Yes, your skintype is inherited, and there's little you can do about that, but if we take what nature has given us as our starting point, there is quite a lot we can do to improve on it. Without breaking the budget or resorting to surgery I might add!
We need to be realistic here. When we are young and healthy we will be able to cope with most of the items on that long list without too much fuss, but as we get older, or if we become generally unwell (or continue to abuse our health), then the damage becomes much more obvious and our skin recovers much more slowly. It is really important therefore, to understand your skin type and the pressures that you are putting on your complexion. You must also review this regularly so that you can 'tweak' your choice of skincare products accordingly. Your regular skincare routine should be reviewed from time to time as your skin ages or as environmental changes take affect.
Know your Skintype: Normal has an even tone, the pores are usually not visible and there are no flaky or greasy patches. A normal complexion is supple and smooth and glows with inner health. The occasional spot or pimple may appear from time to time depending upon various conditions, puberty, menstruation, illness etc but in general this skintype is not likely to suffer from acne or other skin complaints. As always, you do have to continue to take care of your health (eat and drink healthily and take regular exercise) and follow a suitable skincare routine in order to maintain this skintype.Someone with normal skin can use just about any natural beauty product they like, it will be down to preference and the end result, to choose which ones become part of your regular routine.
Know your Skintype: Dry is uncomfortable and can be visibly so. With dry skin there is usually a lack of the skin's own natural oils which means the complexion is often flaky or even cracked. It is not simply lack of sebum (the skin's natural oil) that gives this appearance but also lack of moisture/hydration. Dehydration is often the cause of the most obvious symptoms for this skintype. A dry skin will feel taut after washing and is often prone to sensitivities. Wind, sun, central heating (including car heaters) and our computer screens, make dry skin noticeably worse. Illness and some specific medical conditions can cause extreme dry skin and related skin problems such as excema or psoriasis - if you suspect that your health is to blame then do seek professional advice from your doctor or specialist.
Our complexions have a tendency to dry out as we get older, and the age at which this happens is totally an individual thing, but our modern lifestyle definitely speeds up this process and dry skintypes will often develop wrinkles far sooner than normal or oily complexions.
Know your skintype: Oily often looks shiny and greasy with enlarged pores prone to blackheads. The complexion may look sallow or dirty. The skin has a tendency to look coarse and dull. This condition arises generally when there is overproduction of sebum (natural skin oil) and there are times in our life when this is prompted by our hormones. Adolescense is one of these. Oily skin is prone to acne and unsightly blemishes - again this is no stranger to most of us during puberty. However, hormonal imbalances can cause oiliness of the complexion at any age and diet is definitely a contributing factor. People with oily skin needs to deep cleanse more frequently and may find that natural skin peels become a regular and slightly more time consuming part of their routine. On the bright side, those with oily skintypes are often the last to get wrinkles and show the signs of ageing. But this benefit hardly outweighs the drab look that oily skins can often have.
Some people have combination skins where greasy patches form around the nose, chin and across the forehead. Managing this type of skin requires a mixture of products from the recomendations made for all the skintypes and you will have to take a little extra care in choosing which and what you use.
Choosing which products will be most useful for your particular skin is paramount if you wish to save money, time and energy (and possibly tears too!). Your skin will reflect your general health and the conditions under which you live, more or less updating on a day-to-day basis.
Firstly, if you do not eat and drink well (as in water not alcohol!) your skin is less likely to look its best. 'Burning the candle at both ends' is notorious for making the complexion look grey and dowdy - you only have to remember the 'morning after the night before' to understand where I am coming from.
Pollution, too much sun, too much wind, extreme cold, central heating, computer monitors, fast food, processed food, cigarettes, alcohol, drugs (recreational and prescription), age and illness are all reflected in the health of your skin and will contribute to your natural skintype, making it worse or better.
There is also the predisposition of your genes. Yes, your skintype is inherited, and there's little you can do about that, but if we take what nature has given us as our starting point, there is quite a lot we can do to improve on it. Without breaking the budget or resorting to surgery I might add!
We need to be realistic here. When we are young and healthy we will be able to cope with most of the items on that long list without too much fuss, but as we get older, or if we become generally unwell (or continue to abuse our health), then the damage becomes much more obvious and our skin recovers much more slowly. It is really important therefore, to understand your skin type and the pressures that you are putting on your complexion. You must also review this regularly so that you can 'tweak' your choice of skincare products accordingly. Your regular skincare routine should be reviewed from time to time as your skin ages or as environmental changes take affect.
NORMAL SKIN
DRY SKIN
Our complexions have a tendency to dry out as we get older, and the age at which this happens is totally an individual thing, but our modern lifestyle definitely speeds up this process and dry skintypes will often develop wrinkles far sooner than normal or oily complexions.
OILY SKIN
Some people have combination skins where greasy patches form around the nose, chin and across the forehead. Managing this type of skin requires a mixture of products from the recomendations made for all the skintypes and you will have to take a little extra care in choosing which and what you use.
Wednesday, 9 February 2011
De-Stressing... yes please!
De-Stress Bee Balm Recipe
This bee balm is perfect for massaging onto temples shoulders and neck at the start of a tension headache.Ingredients
20ml Apricot Oil
10ml Calendula Oil
10ml Jojoba Oil
4g Bees Wax
1ml Vitamin E
2 drops Rosewood Essential Oil
5 drops Lavender Essential Oil
2 drops Ylang Ylang Essential Oil
Method
Follow instructions for making the basic bee balm.
It's as simple as that!
Or.... if you want to be more complicated follow the instructions for infusing herbs in the oil - here you seem some wild thyme growing in Spain. It was wonderfully aromatic, antiseptic and a bit stimulating for a de-stress balm, but some lavender perhaps would be more suitable for the de-stressing. The thought, care and attention you put into making your balm will be rewarded in the results that you get. A truly beautiful balm deserves the best therapeutic essential oils that you can afford - remember to wait until the balm is almost gloopy before mixing them in, that way you don't lose too much to the heat. The act of massaging the oil in (either yourself or getting someone to help you) and relaxing while breathing in the aroma of the essential oils is also very important.
Tuesday, 1 February 2011
Babby Bottom Balm
Nappy Rash - The Natural Solution
On this page you will find a couple of natural formulas that will do exactly the same job but without the worrying chemical ingredients. Of course if you are at all concerned about the safety of these recipes, as always, do check with your health professional before using them on your child.
Castoline
This is a barrier cream suitable for use as a nappy cream or where a vegetable replacement for Vaseline is required. It is developed from the basic Bee Balm Recipe The end result is quite thick and it stays on the skin for quite some time before slowly sinking in. The addition of healing shea butter and soothing jojoba will help protect delicate skin.Ingredients
40g Castor Oil
18g Shea Butter
22g Jojoba
10g Fractionated Coconut Oil
10g Bees Wax
5 drops lavender Essential oil
2 drops Chamomile Essential oil
(The use of essential oils in this recipe is optional. You may prefer - while baby is under 6 months old to leave them out, if you are in doubt please check with a qualified aromatherapist.)
Method
Combine all ingredients except the shea butter and the essential oils in a heatproof bowl over a pan of hot water. Melt everything very gently. Once the bees wax has melted remove the bowl from the heat and stir in the shea butter. The heat of the bees wax should melt the shea quite quickly. Stir it well. Allow the mixture to cool until like thick soup at which point add the essential oils, again stir very well, then pour into a clean sterilised jar. Leave for at least 24 hours to settle before use. (My hubby uses this balm on his thighs when he goes running - it really stops the chaffing and was one of my very first creations that got his seal of approval. I was simply glowing I can tell you!!)
Monday, 31 January 2011
Varying the Basic Bee Balm Recipe
In my last post I gave you a very basic bee balm recipe, but it is the beginnings of making a really beautiful product.
First of all you need to decide what your balm is going to be used for. Then you choose a plant oil or combination of oils that will suit your purpose. Choose the type of bees wax - yes, you have a choice - that suits your purpose and finally decide if you are going to add essential oils or perhaps a flower or plant extract or both. Research the type of essential oils that will be suitable for your product and make sure that you like the way they smell. It is a good idea to blend the oils a couple of days before you intend to make the balm to allow the combination to settle down and assume a nicely rounded scent.
A note about bees wax
If you purchase bees wax from your local bee keeper you may find that it is very dark in colour, or very yellow, or has what appears to be impurities in the wax. These impurities are often simply honey, or pollen or even bits of bees - it all depends upon how well the bee keeper has filtered the wax. If you purchase bees wax from a diy store it can sometimes be very very dark brown in colour, in general the darker the colour the older the bees wax - which doesn't necessarily mean that it is bad, but you need to think about what type of bee balm you are going to use it for.
Bees wax purchased from a cosmetic supplier is sometimes pure white in colour, this is because it has been washed until it is totally white and is completely pure. Very often the yellow bees wax will smell of honey and the washed wax does not. They are usually all equally good depending upon your point of view, and your choice should be guided by your end product.
For example, if you are making a foot balm - perhaps with a peppermint essential oil, you may be perfectly happy to choose a wax from your local bee keeper who perhaps does not filter it so well. The final smell of your balm will be changed a little by the combination of the peppermint essential oil with the honey smelling wax. But if you are intending this to be a beauty balm with the addition of an expensive rose essential oil, then you may not want the wax to smell so strongly and taint the rose scent (actually rose and honey is quite pleasant but its a personal choice). Another consideration is the colour - the colour of your wax and the skincare oils that you choose will determine the final colour of the bee balm, some people are funny about using highly coloured products on their face, preferring pure white or slightly creamy rather than vivid yellow or dark brown. It is simply a consideration to be made before you begin.
I wanted a medicinal bee balm to treat stings, insect bites, minor scratches and burns. I chose Calendula Oil (Calendula Officianalus Helianthus Annus - or sunflower oil infused with calendula petals). I thought that calendula would be healing and soothing and gentle on damaged skin. Because it was to be an ointment I didnt mind too much about the colour, but I would prefer yellow than brown so I spoke to a local bee keeper and bought from him a nice yellow - not too highly filtered bees wax that still smelled quite strongly of honey. Honey itself is very healing and soothing, not to mention being antiseptic, so I didn't mind if the bees wax contained traces of honey.
To further inhance the healing qualities of the oil I decided to infuse some medicinal herbs. I chose Chickweed (Stellaria media) because of it's anti-inflammatory qualities and Plaintain (Plantago lanceolata) because of it's ability to staunch bleeding. I then infused these two herbs in the calendula oil for a couple of weeks. To give my oitment a pleasing smell as well as increasing the medicinal value I chose a blend of Tea tree essential oil along with Lavender and Chamomile. I used very little tea tree because I do not find the smell pleasant, but also it is a very strong essential oil and I didn't want to overpower my formula, likewise with the chamomile - the smell is not one that I would like to dominate.
It took me some time to work out exactly how much to use. Because the calendula oil is basically an infusion of marigold petals in sunflower oil and sunflower oil can have tendencies to go off a little quicker than other oils I decided to use some vitamin e to help prolong the shelf life.
I used the basic recipe for a bee balm (given in the last post) - 50ml of oil to 4g of bees wax. The end product was brilliant!! My first aid cupboard will never be without it! So you see, the more thought and care you take over the choice of ingredients, the more amazing your end product will be.
You could choose all organic ingredients, you could mix a large number of plant oils together. You could add flower extracts or cosmetic additives - you could even reduce the amount of bees wax and replace it with a little shea butter. How much? Well that requires you to experiment a bit... if you melt shea butter and let it go hard, it goes really hard so if you were to add it to the above recipe without reducing the bees wax your balm might be rock solid, hence you need to experiment until you get the consistency that you like best. Remember to leave the preparation for a good 24 hours before judging whether it is thick or thin enough for your tastes.
Hint if you think that you will be experimenting quite a bit, it is a good idea to purchase a set of digital jewellery scales (about £20 at last time of looking). These will enable you to scale recipes down to very small quantities, in this way you can make just one pot of ointment at a time and if it is not to your liking you can bin it without too much waste!
And next... I shall be divulging my De-stress balm recipe... so do check back soon.
Subscribe to:
Posts (Atom)